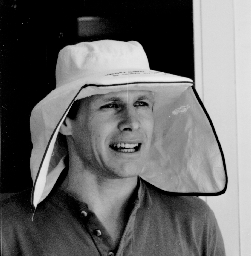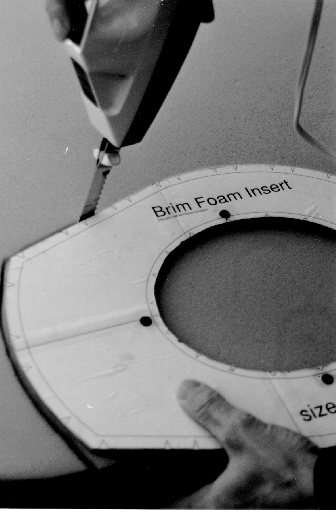
A turn table (lazy susan) which can be purchased at a supermarket.
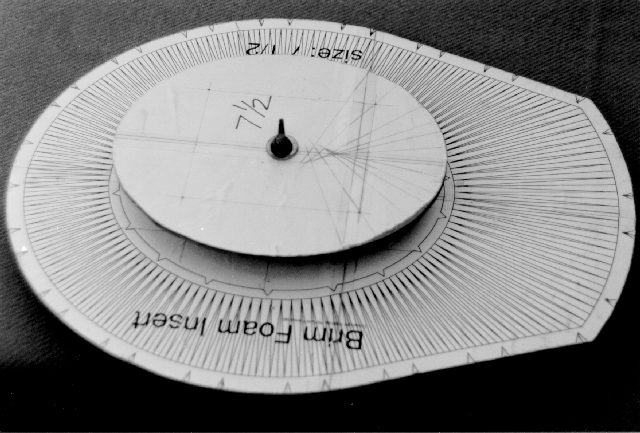
Cut around the outside edge of the template keeping the blade of the knife parallel to the edge of the template. If you turn the edge of the knife against the template the foam may be pulled out from underneath the template and be cut too small. The knife need not be held exactly perpendicular to the foam surface for this step.
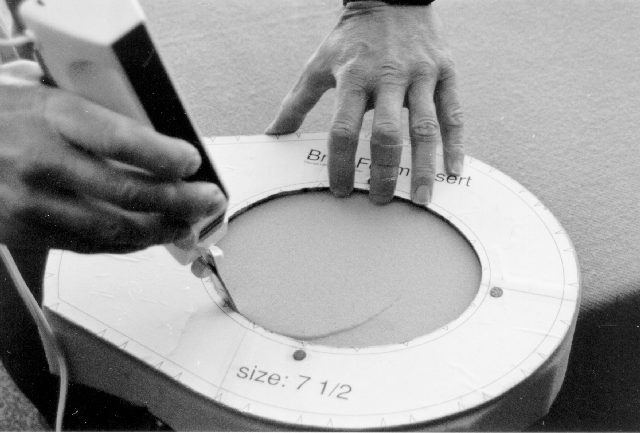
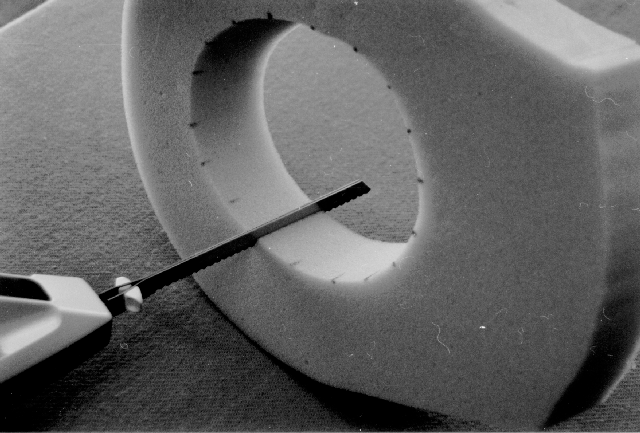
Cut around the inside edge (the hole) of the template. Make this cut carefully. It is a finish cut. The knife should be held perpendicular to the top surface of the template or with the handle of the knife tilted only a degree or two away from the center of the template. This cut can most easily be made at the edge of the work table by turning the foam and template instead of moving the knife.
Mark the foam inside the hole at the V-marks on the inside edge of the template.
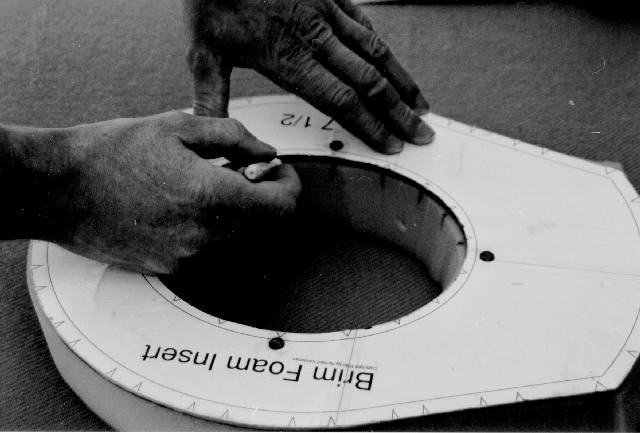
Remove the template from the foam.
Make 1/4 inch deep cuts across the surface of the inside of the hole at each of the marks. This allows for a more comfortable fit of the hat to a wider range of head sizes.
It is most comfortable to do this job at a table, such as a drafting table, which is high enough so that the work will be at eye level when you are seated in a chair.
Place the turn table (lazy susan) on the table and the jig on the turn table. Start the cut (preferably at the back of the hat) so that the knife is just imbedded in the foam with the edge angled toward the left (to the right if you will make the cut with your left hand). Place the Foam Jig Weight on top of the foam.
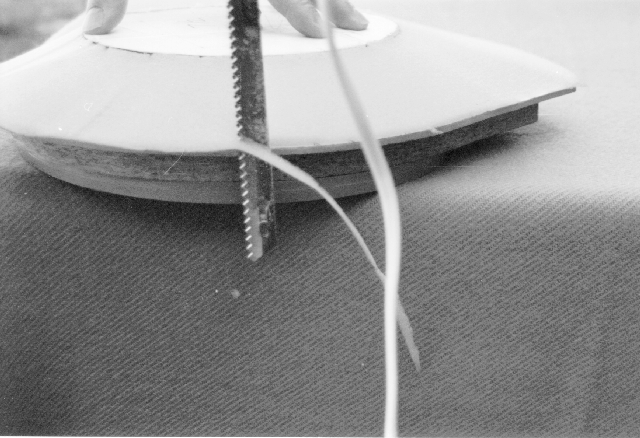
Continue the cut so that the side of the knife blade smoothly comes into contact with the Foam Jig Top and to within 1/16 to 1/8 inch of the Foam Jig Base. Hold the knife so that it is approximately aligned with the guide marks on the Foam Jig Top. This you will have to do by feel, possibly checking yourself occasionally, because it is best to watch the the cut progressing at the Foam Jig Base.
Make the cut by holding the knife still and turning the jig on the turn table. It is best to exert slight pressure on the Foam Jig Weight while turning the jig to prevent the foam from slipping.
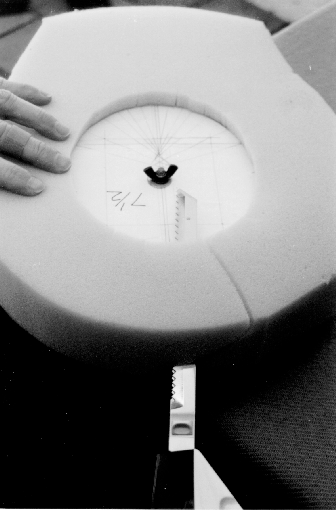
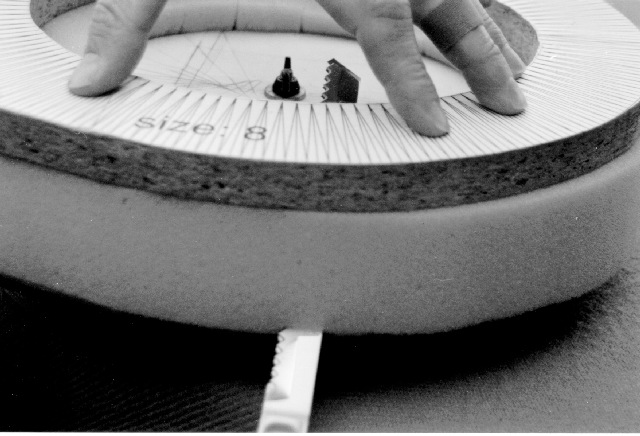
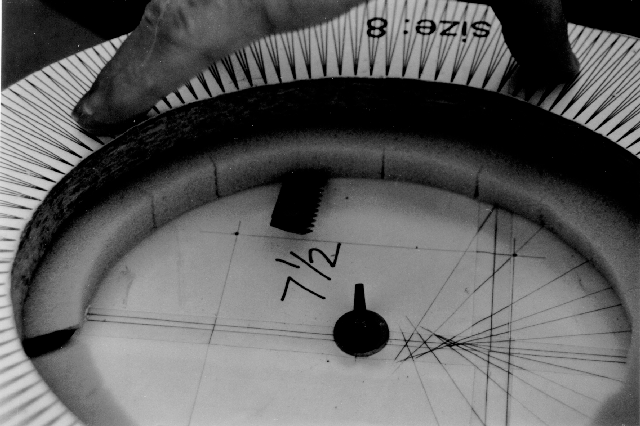
As the cut approaches the front corner of the Foam Jig Base the vertical angle of the knife will have to change. The side of the knife must be kept parallel to the edges of the jig during this angle change. The opposite will occur at the other corner. If you allow the edge of the knife to angle toward the edges of the jig, too much foam will be cut away. If you let it angle away from the edges of the jig, the cut will depart from the jig and an uneven cut will result.
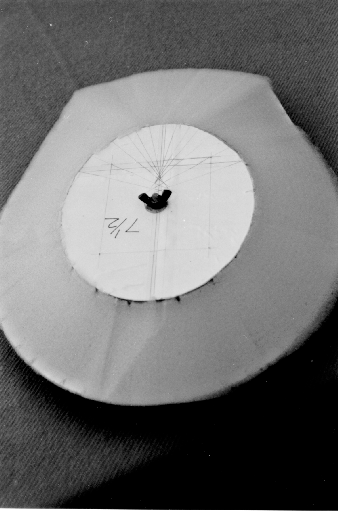
With a bit of practice you will be able to make a very smooth cut.
Trim the outer edge of the foam even with the Brim Foam Jig Base, if necessary.
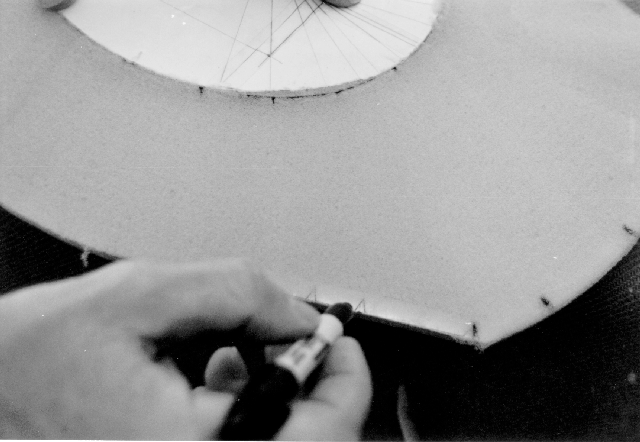
Before removing the Brim Foam Insert from the jig, mark its outer edge at the V-marks on the Brim Foam Jig Base.
Use of a roller cutter requires a surface to cut against. Plastic mats are available for this purpose. Check local fabric or sewing machine stores. The mat must be at least 3 feet square. Mats are available 3 ft by 6 ft.
There are tools which will facilitate cutting cloth into uniform strips and which might speed up the job of cutting the hat bands.
It is probably best to cut the hat bands one at a time.
1/4 inch thick polyurethane foam sheet attached with a fusible resin web works well instead of interfacing. Fuse the paper backed resin to the foam before cutting it. The foam should be cut differently than the interfacing. The straight edge of the foam should be 1/4 to 3/8 inch back from the edge of the template. It is probably not practical to cut more than one layer of foam at once.
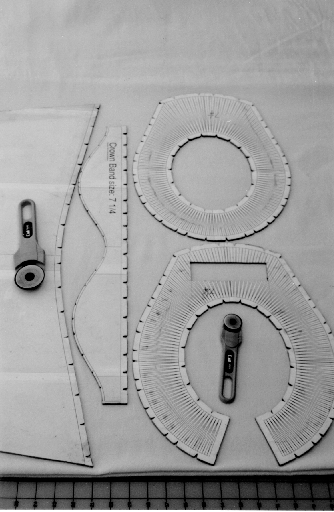
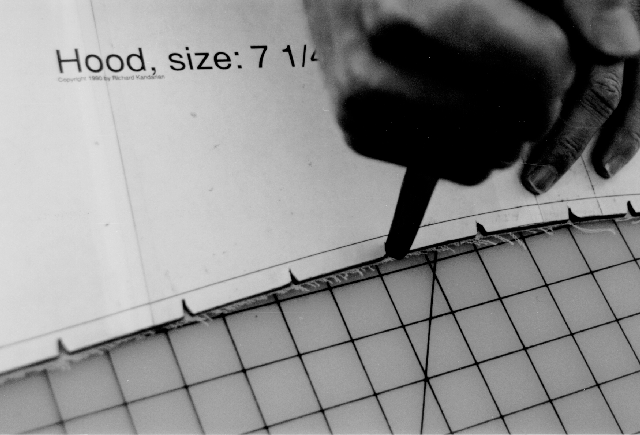
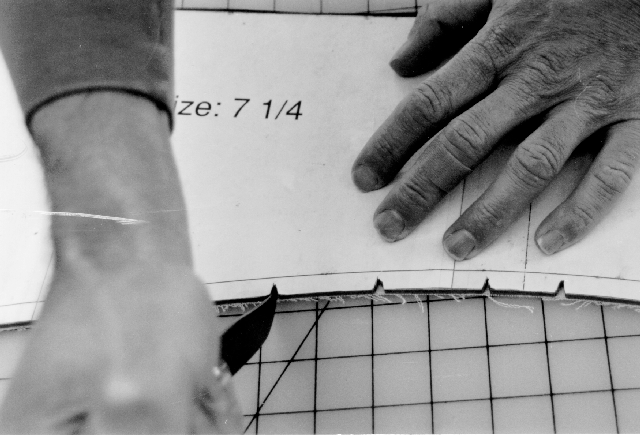
Mark, do not cut, the v-marks on the Crown Band and Crown Top. Make the marks before removing the templates from the fabric. If you are cutting multiple layers. the marks can be made across the edges of the pieces but be sure all pieces are indeed marked. Mark or cut all of the other v-marks. They can be cut using a short knife with a rounded end which is very sharp all the way to the point. Make the cuts by pushing the point of the knife through the fabric at the end of the V-notch in the template and then rocking the edge of the knife toward the edge of the fabric pieces. Do not try to slide the knife.
Aircraft Spruce & Specialty Company
Box 424 Fullerton, CA 92632

Phone: (714) 870 7551
to order: (800) 824 1930

.032 inch part #: 01-15700
.041 inch part #: 01-15800
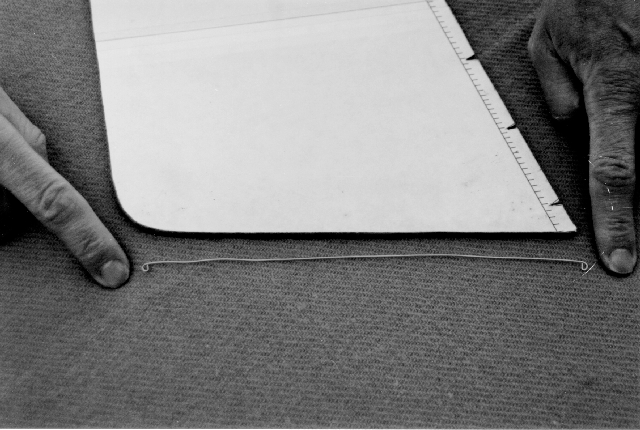
A one pound spool will cost less than $10.00 and will supply wire for a very large number of hats. Cut two pieces of wire for each hat. Each wire should be the length of the front edge of the Hood. Bend over a 1/8 inch loop at each end. Form the loop so that it will not snag the fabric.
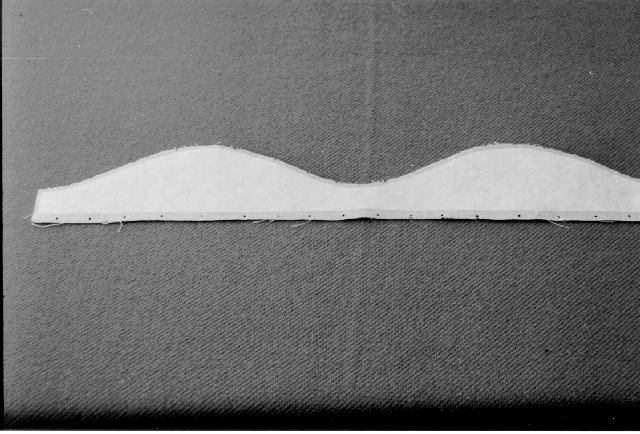
Fuse the Crown Band Interfacing to the inside of the Crown Band so that the edges of the Crown Band Interfacing lie on the seam lines. Follow the instructions provided by the manufacturer.
Sew the ends of the Crown band together with the outer faces together and press the seam open.
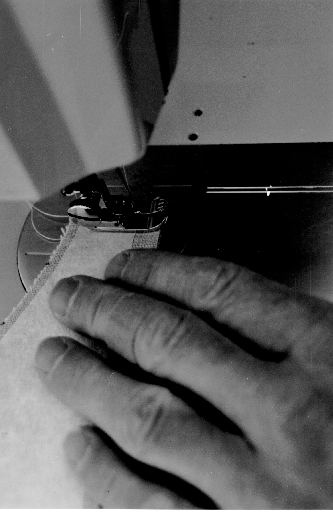
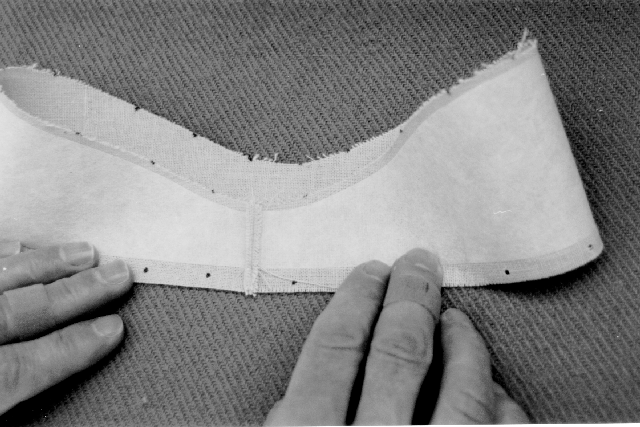
Cover the seam where the two ends of the Crown Band join with 1/2 inch twill tape or bias tape on the inside.
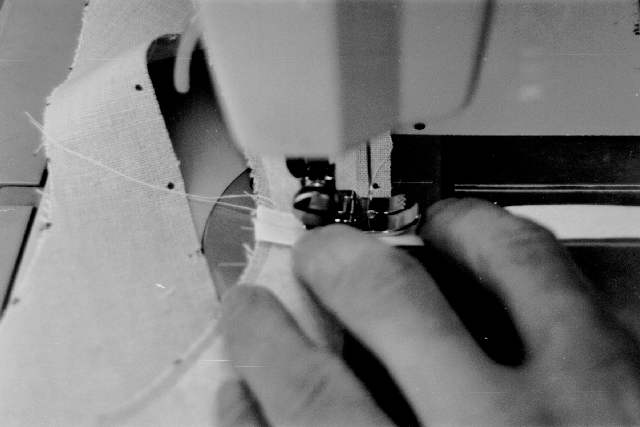
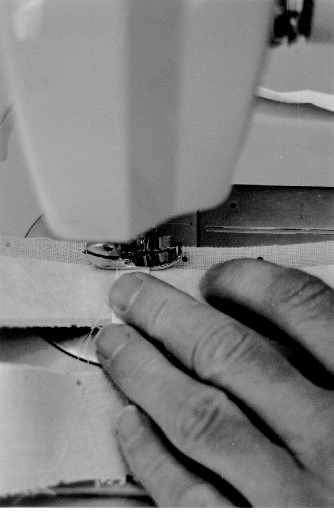
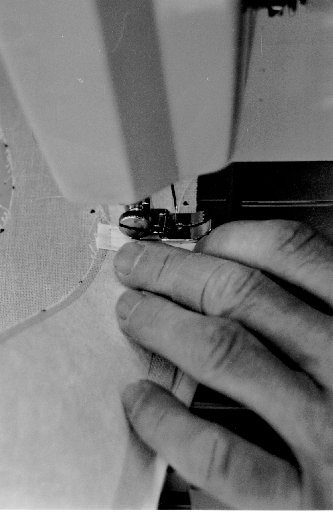
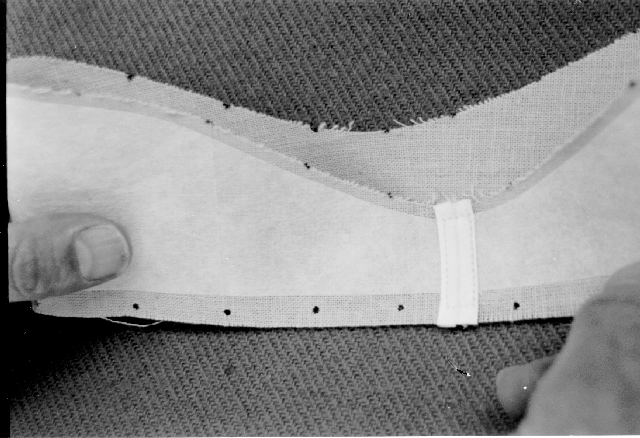
Sew the Crown Top to the wavy edge of the Crown Band matching the marks and with the outer faces together. The sharp curve of the Crown Top matches the narrow part of the Crown Band. Press the seam open. (I prefer to make this seam with the Crown Top on the bottom when using interfacing and with the Crown Band on the bottom when using foam.)
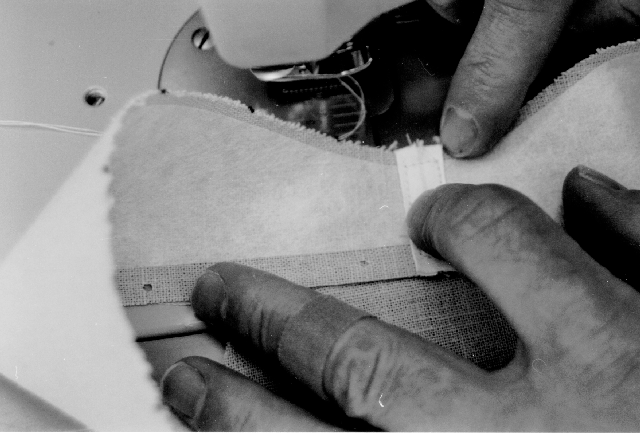
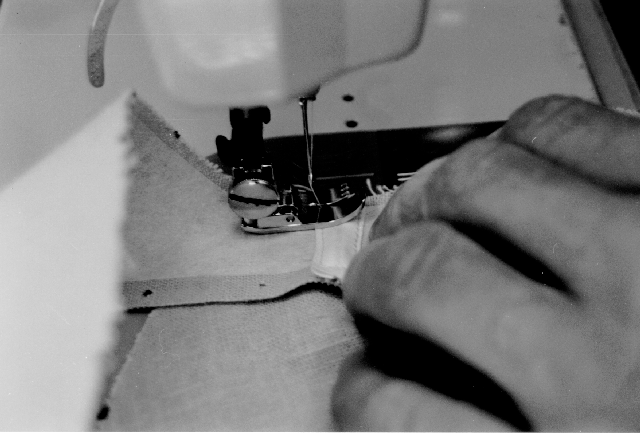
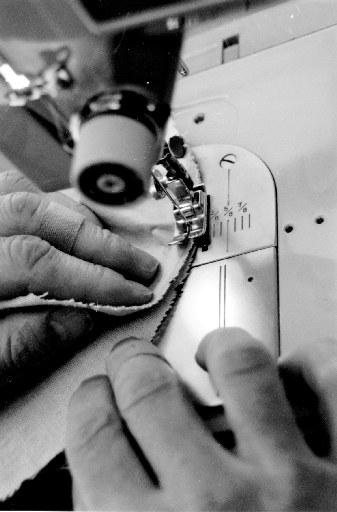
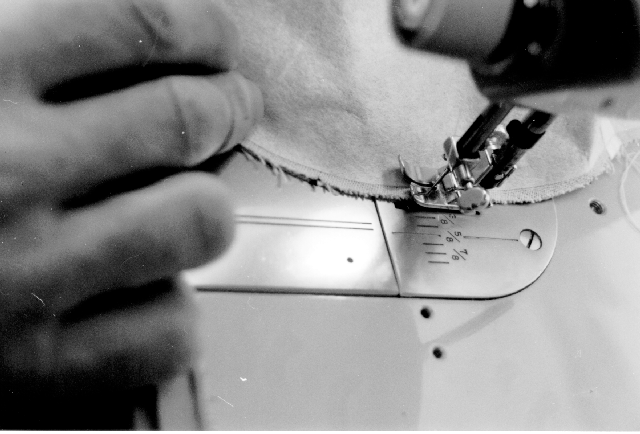
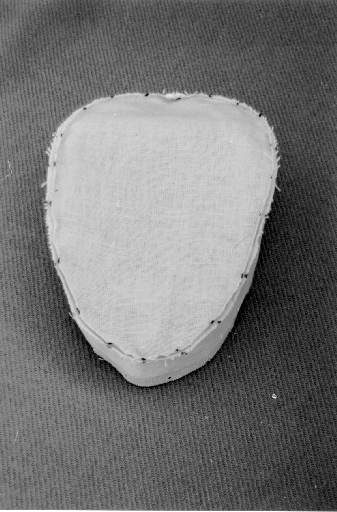
Cover the seam where the Crown Band and the Crown Top join with 1/2 inch single fold bias tape on the inside. Start at the back of the crown. (I prefer to sew the tape to the Crown Top first but I don't have a double needle machine. I imagine such a machine with the addition of a tape feeder would speed up this part of the job a lot.) Cut the tape to length when you have sewn to within an inch or two of the starting point. Allow about 1/4 inch of tape to fold over.
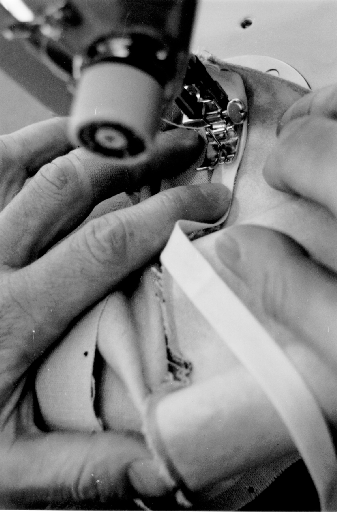
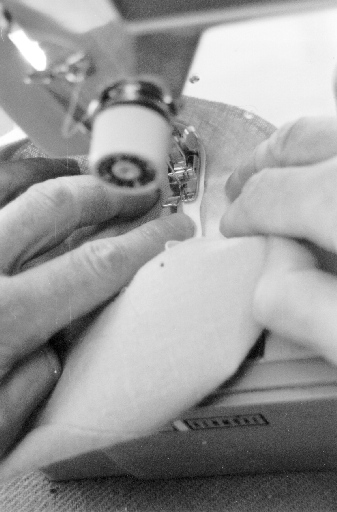
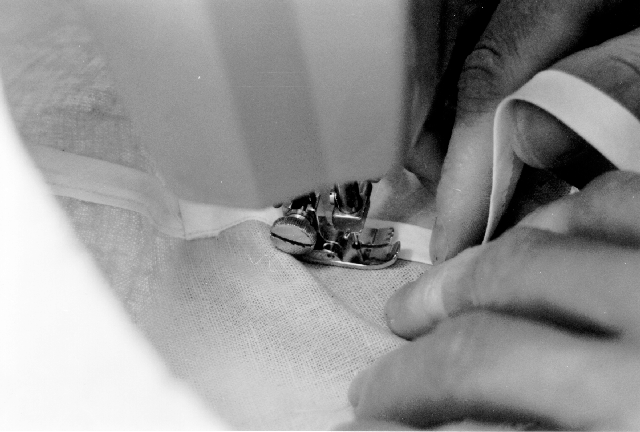
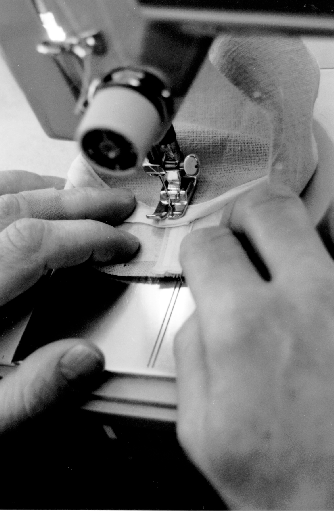
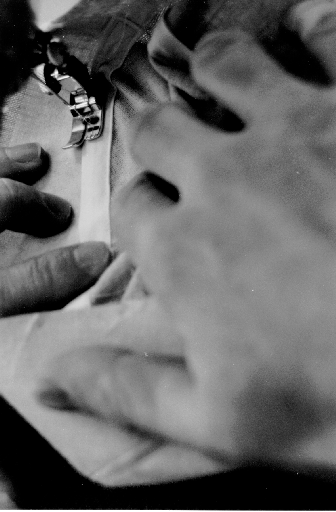
With practice you will be able to center the tape over the seam and keep the seams straight. Touch plays a part in this task.
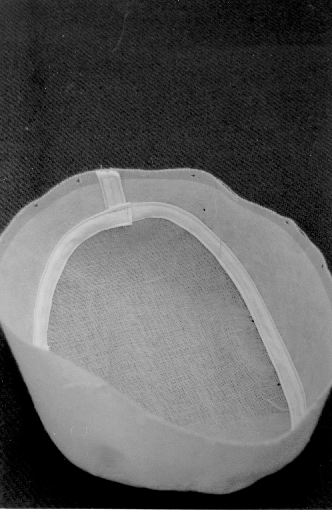
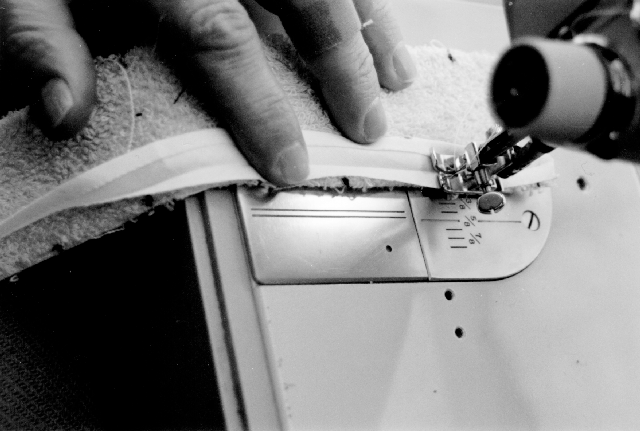
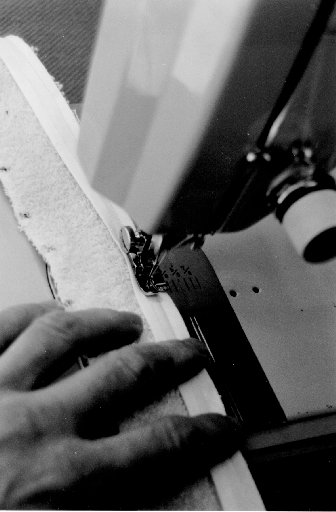
Tack a loop of twill tape to the outside face of the Hat Band 3/8 inch forward of the center of each side of the hat (this is just forward of the fifth mark from the end on each side) so that when the Brim Bottom Cover is sewn in place the loop will extend out of the seam about 1/2 to 3/4 inch. This means the loop must point into the crown of the hat.
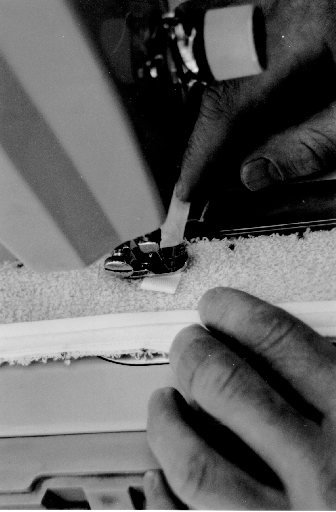
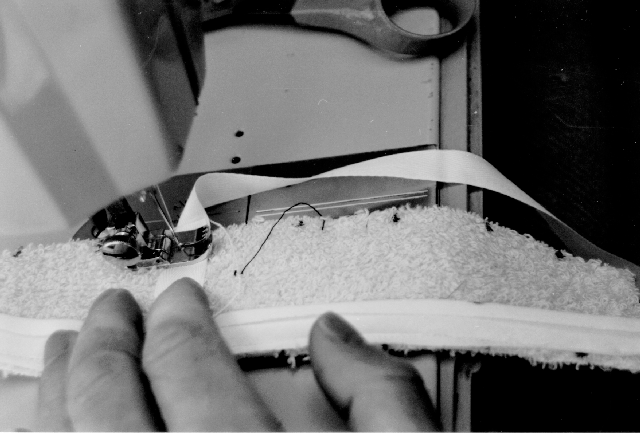
Sew the ends of the Hat Band together.
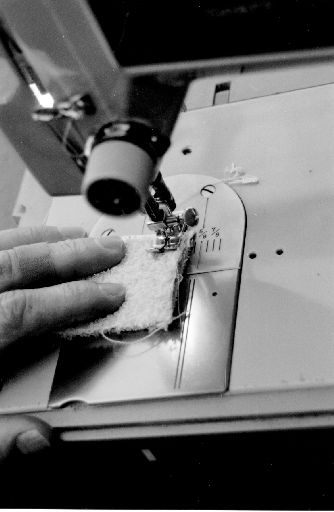
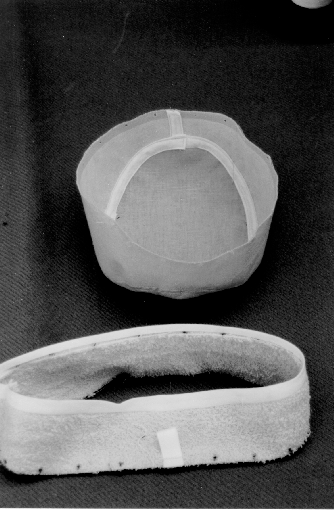
Sew a one inch strip of velcro hooks to the Brim Top Cover with the top edge on the crown seam line and centered on or up to 1/8 inch behind the fourth mark from the seam joining the Brim Top Cover at the back.
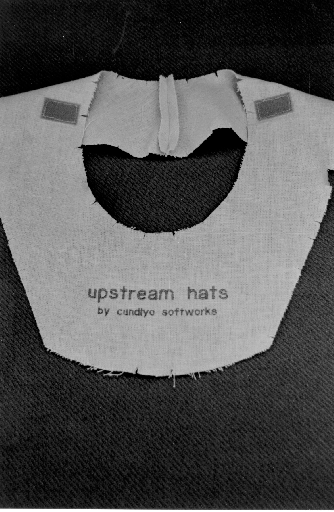
Final assembly will be simplified if the crown is basted to the Brim Top Cover at this point. Baste the outer face of the crown to the outer face of the Brim Top Cover with the seam joining the ends of the Crown Band matching the one joining the ends of the Brim Top Cover.
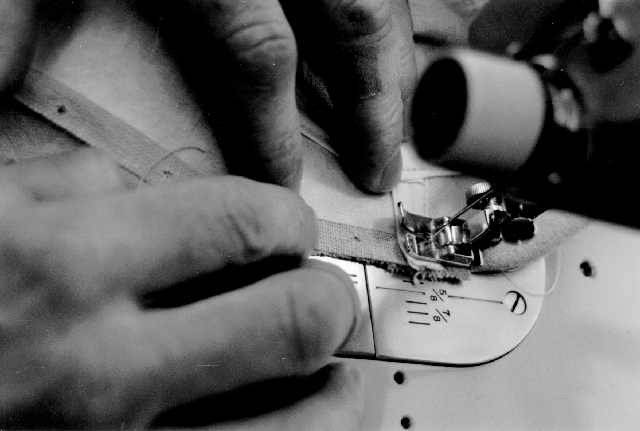
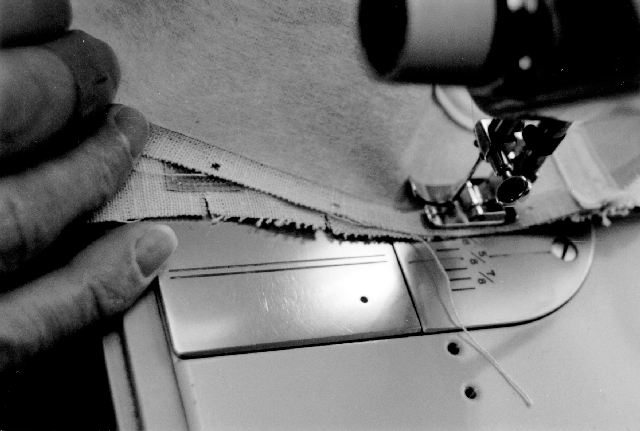
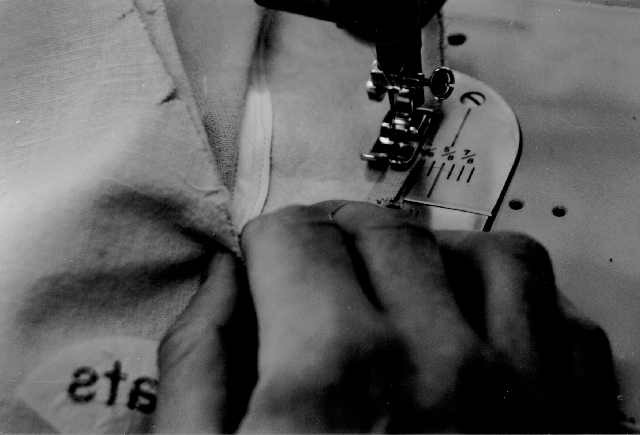
Sew a one inch strip of velcro pile along the front edge of the outside face of the Hood in each corner.
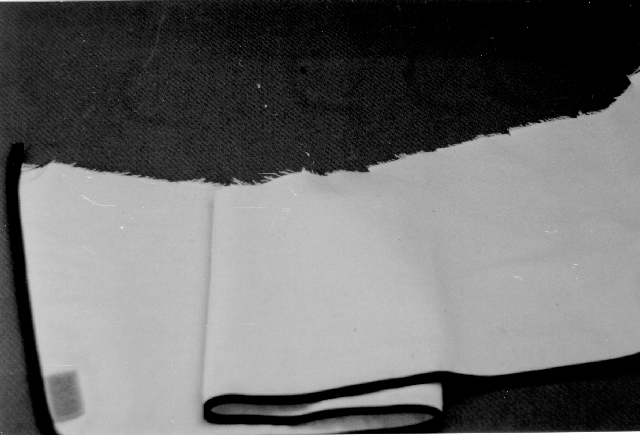
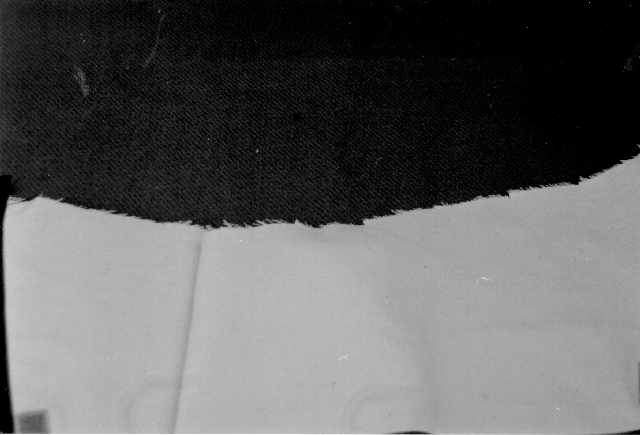
Insert the wires into the binding of the front edges of the hood. Push them in far enough that they will not be caught in the seam at final assembly.
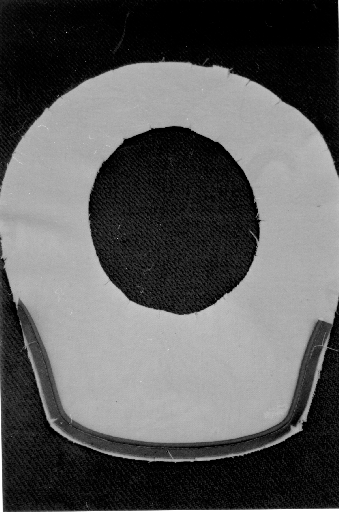
Sew the Brim Bottom Cover to the bottom of the Hat Band with the outer faces together.
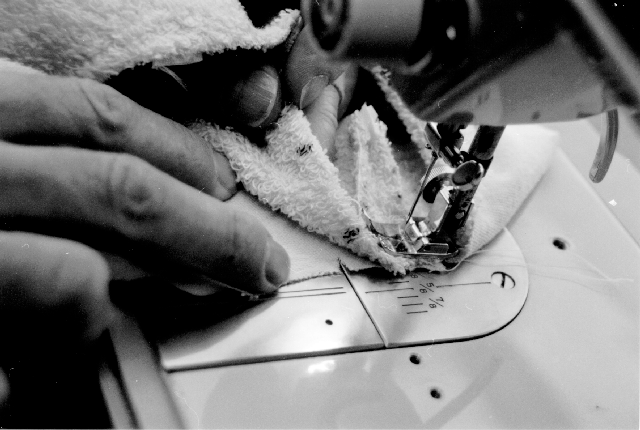
Press open the bottom seam of the Hat Band and clip the seam allowance of the Brim Bottom Cover only.
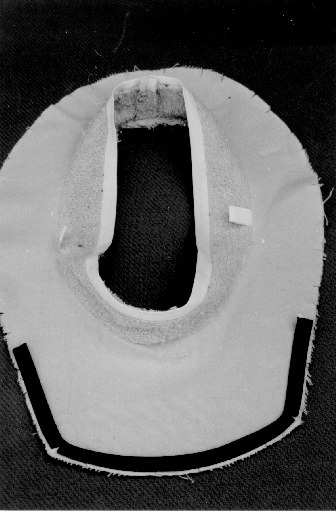
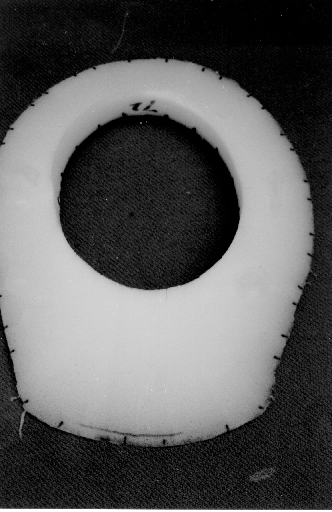

Place the Hood outer face (velcro) down onto the Brim Top Cover with the unbound edge aligned with the edge of the Brim Top Cover. The two more closely spaced marks on either side of the center of the hood match the marks on either side of the seam joining the two ends of the Brim Top Cover. Each of the rest of the marks on the Hood matches one of each of the more closely spaced pairs of marks on the Brim Top Cover.
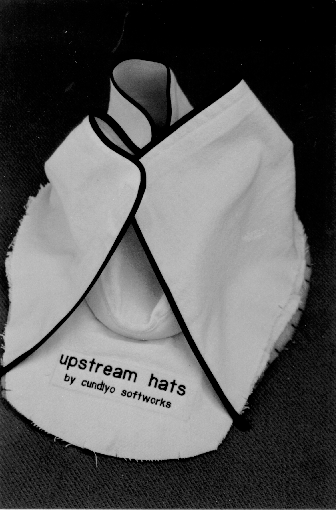
Place the inner face of the Brim Bottom Cover on top of the stack (upside down). You may find it helpful to pin the stack together around the outside enge though it is not necessary.
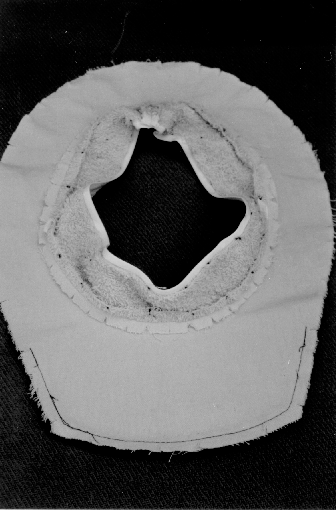
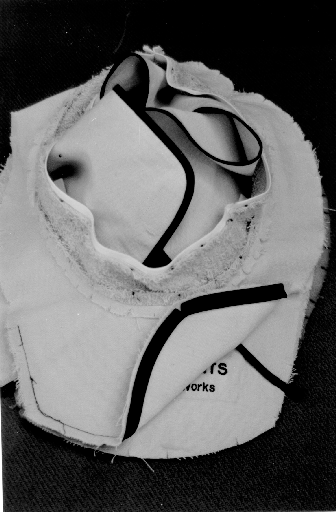
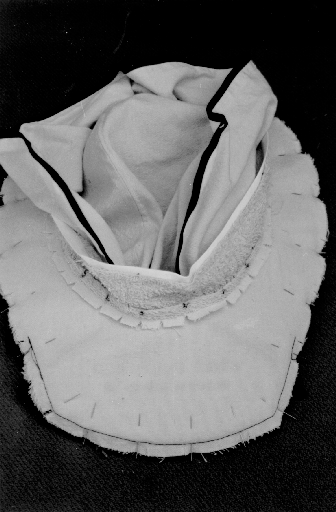
Sew the stack together around the outside edge.
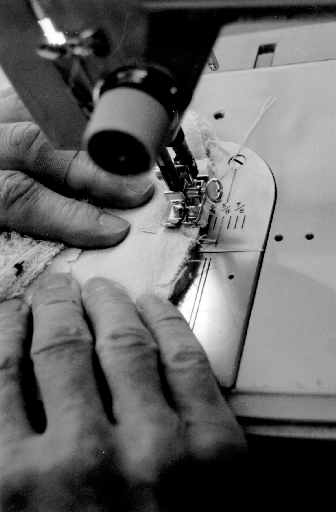
Clip the seam where it curves and at the front corners of the brim.
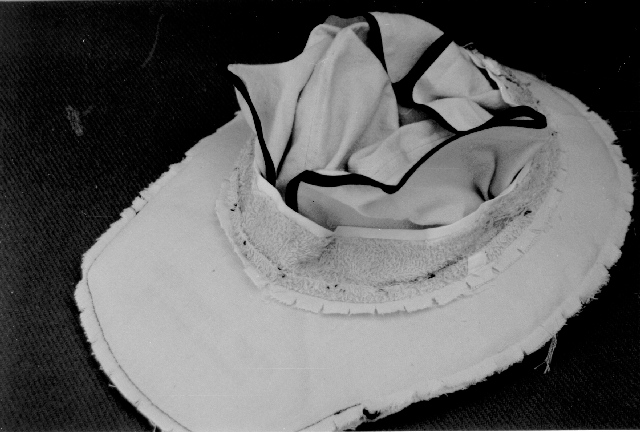
Turn the Brim Bottom Cover over the Brim Foam Insert.
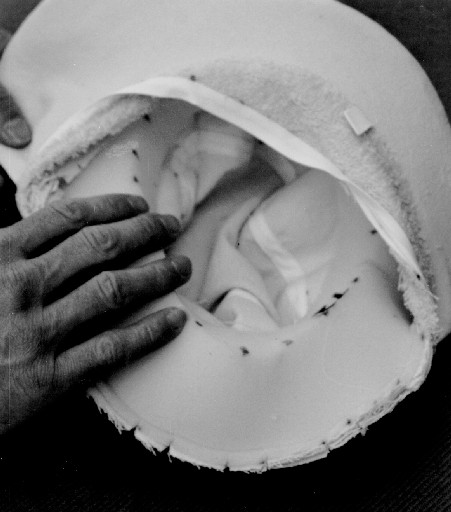
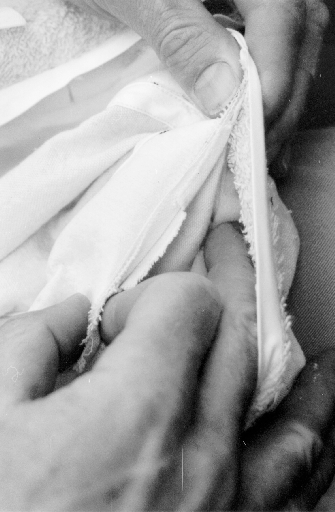
Sew the outer face of the crown to the outer face of the Brim Top Cover (may have optionally been basted already) and the inner face of the Hat Band. Match the seam joining the ends of the crown band to the seam joining the ends of the Brim Top Cover and to the seam joining the ends of the Hat Band. The seam allowance is from the edge of the Hat Band, not the edge of the tape. It may help to push the foam back into the brim as you go. (I prefer to make this seam with the Hat Band on the bottom.) This seam closes the brim.
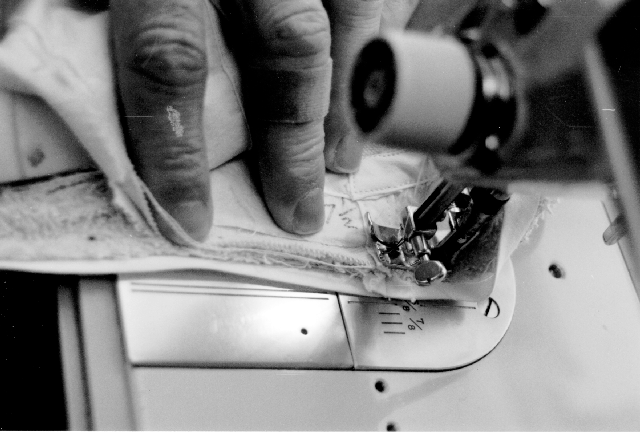
Work the foam into its proper position. If you choose to make several hats in parallel, it is best to combine this step with the last one. If the foam is allowed to stay in a deformed state for too long it may become much more difficult to get back into the proper position.
Push the brim of the hat under the foot of the sewing machine while compressing the foam. The hat should end up positioned with the crown unter the foot of the sewing machine.
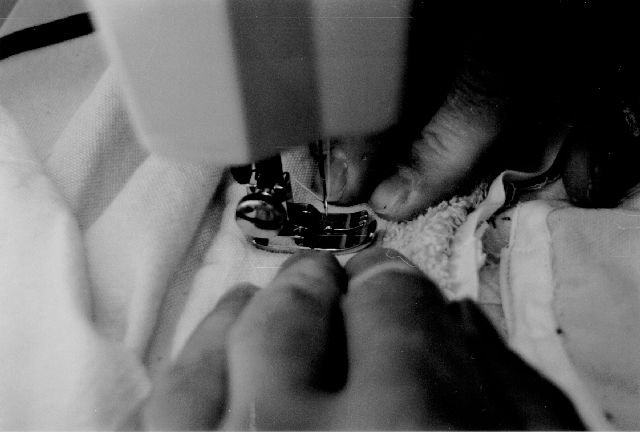
Top stitch the tape on the edge of the Hat Band to the inside of the crown.
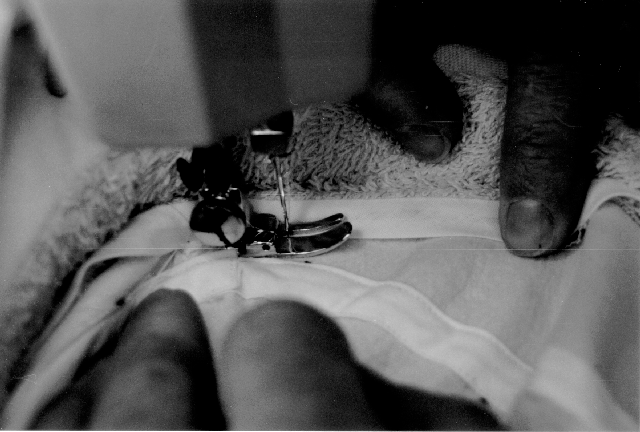
If you are using a machine which allows you to set the needle to either side of center then use a zig-zag foot and set the needle to the right side. Otherwise use a zipper foot with the narrow part of the foot on the right side.